Adobe Camera Raw is a part of Photoshop plugin. It means that instead of having a specific Camera Raw profile, it is presented as Workspaces within the Photoshop's plugin/profiles.
 First Step
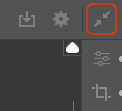
For Camera Raw to function properly, it needs to be set to full screen mode (especially on macOS). This can be set from the arrows on the top right corner - or pressing the top right touch button from Loupedeck's screen for Full Screen mode.
Working with Camera Raw workspaces
 Wheel
Wheel
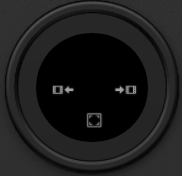
Wheel's function for both main and color grading workspaces stay the same. You can zoom in and out, fit the image to the screen quickly or jump to previous or next image
- Wheel Ring: Zoom in/out
- Left action: goto previous image
- Right action: goto next image
- Bottom action: Fit image to screen
Touch Screen & Dials
 Touch has some basic functions which are needed for adjusting the base image before opening it into Photoshop.
Bottom row: Main tools: Brush, Graduated & radial filters and dust removal.
Note! When activating e.g. brush the dials still control the global level of the image. Camera Raw implementation does not currently have a local level adjustments (like brush-exposure) available.
Middle row: Auto tone for quick adjustment, clipping warning on/off and "Preview Adjustments on/off" (switches between image states "as opened" and "as edited" - note that the opened image might already have some edits made, it is not the same as original image).
Top Row: Workspace links between main and Color Grading - and full screen button.
Dials: Main adjustments are spread on two dial pages. First one having the most used adjustments and second page has less used adjustments.
Note! For some users highlights and shadows might be better to swap for whites (white point) and blacks (black point) depending on what kind of images are adjusted with Camera raw.
Color Grading Workspace
 Color Grading workspace changes the wheel from basic navigation to Blending/Balance wheel, if navigation wheel is needed - just activate it by clicking the "Zoom & Navigate"-wheel on the touch screen.
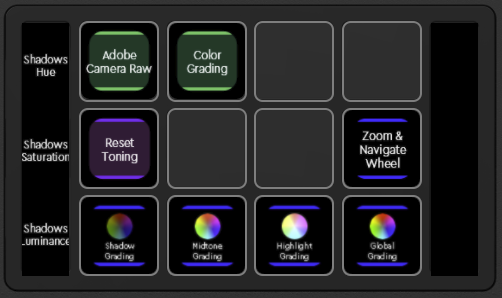
Color Grading has four wheels pages: Shadows, Midtones, Highlights and Global. Quick access to all of these pages has been assigned to the bottom row.
To adjust shadows, midtones, highlights or global toning, click a page link at the bottom row - this will change the left side dial bank accordingly. If you need to reset toning values (as they were when the image was opened), click on the "Reset Toning" action on the touch screen.