Getting started
To get started with streaming with the Loupedeck please make sure that all your relevant are up to date. Note that you need to have your prefered streaming software installed prior to installing the Loupedeck software.
Additionally if you want to use Spotify, Twitch and Hue plugins you will have to create a Loupedeck account for the authentication you can find instructions on creating an account here.
When you start the Loupedeck application you will be guided through the Loupedeck onboarding wizard. The wizard will set you up with the relevant application and system profiles based on your selection.
Selecting the streaming option will set you up with the simplified system profile which has 6 dials and 8 pages for your use as well as all the streaming related plugin in the actions tab to the right. You can navigate the pages by clicking the round buttons on the device or on the UI. You can also assign different colors to the round buttons by hovering your mouse over them.

You can always switch to a normal system profile with workspaces from the profile dropdown menu on the top bar
Configure your OBS Studio or Streamlabs
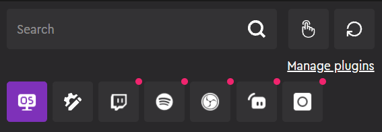
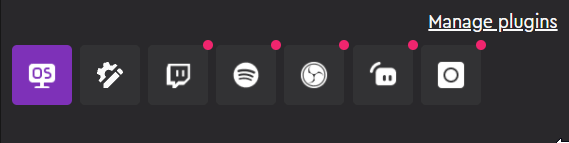
Once you have gotten to the Loupedeck UI it is time to configure your Loupedeck for streaming. On the right side action panel you can find the actions for the different plugins. The red dot on the icon means that the plugin is not connected. To connect e.g Streamlabs or OBS Studio simply run either of the software. When you start the target application the dot will turn yellow to indiate the connection is being established and then it will