Loupedeck Device must be connected for the connection to Bridge to be established.
- Install Loupedeck software 5.0 or up version
- Connect the Loupedeck Device
- Open the Loupedeck software
First time detection can take a few minutes: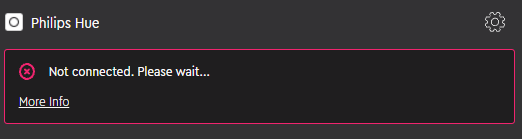
After the bridge has been detected a button will appear, to open the registration page:
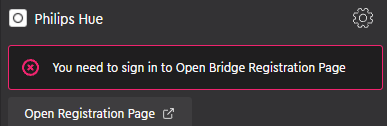
When you click on the "Open Registration Page" your browser will open up prompting you to push the button on the bridge unit. Once the button has been pushed the connection is established.
Actions
There are 4 action types and 4 control centers available in the Philips Hue plugin. The 4 action types are:
Select Scene: Selects a preset scene
Toggle Lamp: Switch for a specific lamp
Toggle Room: Switch for a specific room
Toggle Zone: Switch for a specific zone
The Control centers let you access all groups at once but also includes the option to adjust lamps or different groups of lamps. Long press a group or a lamp while in a control center to use the dials to control Brightness, Hue and Color temperature.