There are several ways to create fade-ins or fade-outs on the audio portion of a clip or an audio component in Final Cut Pro X.
Press “Apply Audio Fades” button on the touch pad to create fades using fade handles: You can use fade handles to create manual fade-ins and fade-outs on the audio portion of a clip or an audio component in the timeline. Fade handles appear in the top-left and top-right corners of the audio waveform when you place the pointer over the clip.
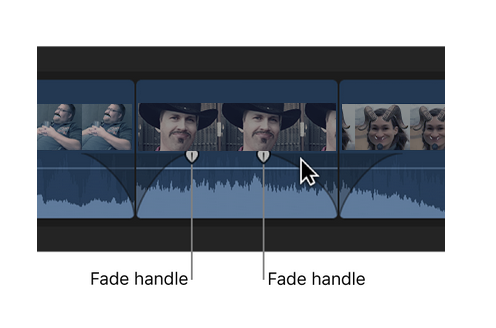
Note!: Fades created using fade handles override crossfades created by a transition.
Tap “Toggle Fade In Audio” or “Toggle Fade Out Audio” icons if you want only a Fade In or Fade Out separately.

If you want full control over your fades, e.g. in order to turn down the volume of the background music during an interview or voice over or to emphasize certain sounds, we suggest to set keyframes to your selected audio clip with “Add Keyframe” action.
![]()
When you have set several keyframes, you can select specific keyframes with the Range Tool and change their value. Simply tap “Range Tool” on the wheel and drag the desired range with mouse. Rotate the dial “Nudge Vertically” to change their value precisely.
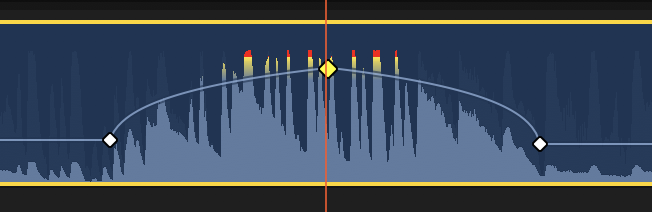
Note!: A keyframe has to be selected (indicated by yellow color) before you can nudge it up or down.
“Nudge Vertically” changes the value of single selected keyframe(s)
“Volume” changes values proportionally and a clip needs to be selected.
“Nudge Horizontally” can be used to trim selected Edit point(s).