Installing Photoshop Integration
How to set-up Photoshop integration (Software version 5.9 and earlier)
Photoshop integration is using Adobe's UXP plugin system. Installation process has two separate parts: 1) Installing Loupedeck software, 2) Installing Photoshop UXP plugin via Creative Cloud.
Creative Cloud plugins, such as Loupedeck plugin, must be installed via Creative Cloud - system will not work if files are only copied to the hard drive instead of utilizing the installation process.
Firts Part: Installing Loupedeck software
- Download Loupedeck software
- Start Installation
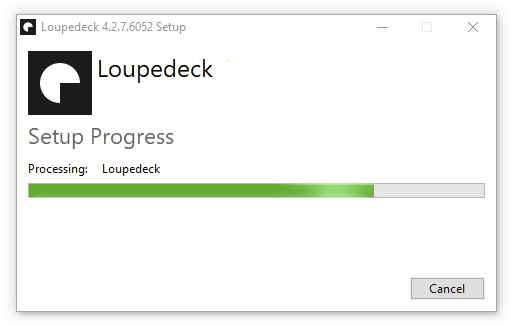
During installation Adobe's Creative Cloud is started.
- Creative Cloud will pop-up a notification ask to replace current plugin version. Let's first finnish with Loupedeck's installation process.
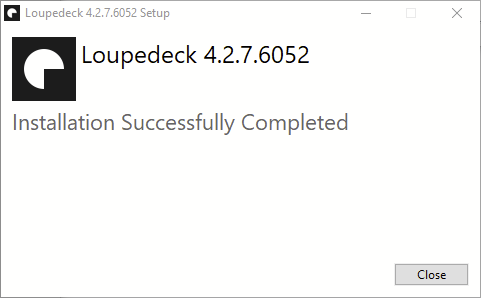
- After installation is successfully complete: Close Loupedeck installer
- Loupedeck software will open, close it also.
Second part: Installing Photoshop UXP plugin via Creative Cloud
Now as Loupedeck software has been successfully installed ( and installer and software closed) continue with Adobe's Creative Cloud.
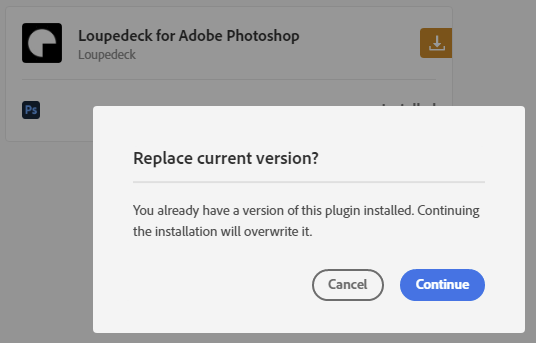
Activate Creative cloud to see the notification of replacing the Loupedeck/Logi plugin. There are two possible versions of the notification:
#1 Replace current version:
- Click "Continue"

#2 Install Adobe Version:
- Click "Install Locally".
This will install the plugin version from the Loupedeck installation file instead from Adobe's cloud based plugin library.
- Click "Ok" for installing Loupedeck/Logi plugin
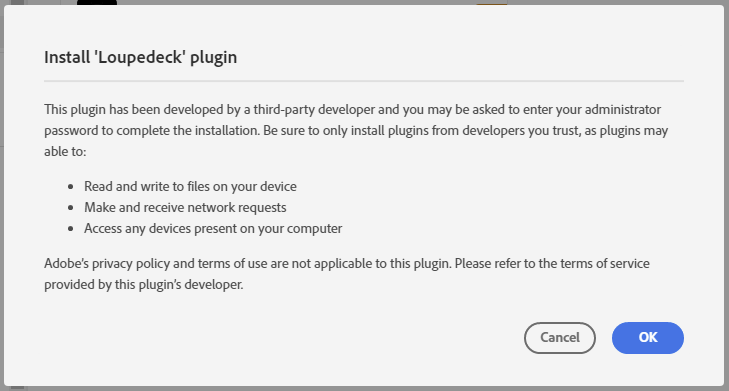
After successful plugin installation Creative Cloud will inform when everything is ready

Note! When starting/using Photoshop, Loupedeck's Photoshop plugin needs to be initialized manually according to Adobe's plugin system: See instructions here.
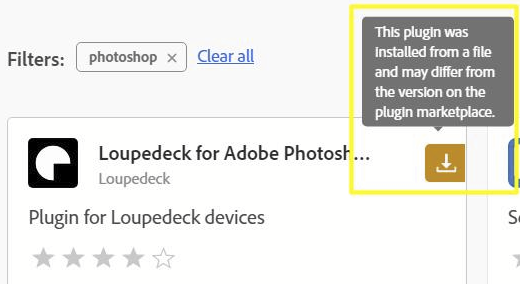 Note2! Sometimes Adobe's Creative Cloud informs that the plugin has been installed "locally" and is indicated with a yellow tag. This is totally normal - the Photoshop's plugin file can be installed via Adobe Cloud or directly from an installation package. It is the same file and has same functions.
