As the Loupedeck+ console has been added as a supported device in the new user interface, some of the old logicalities have been remodeled to fit the new way of working with the software.
Let's go through the basics!
Main vs. Custom Mode (Workspaces)
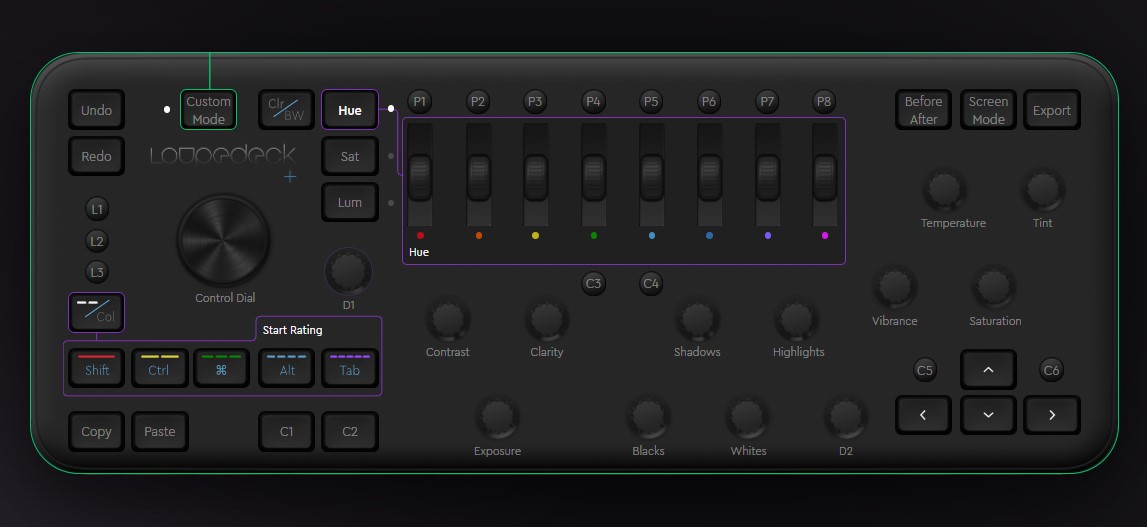
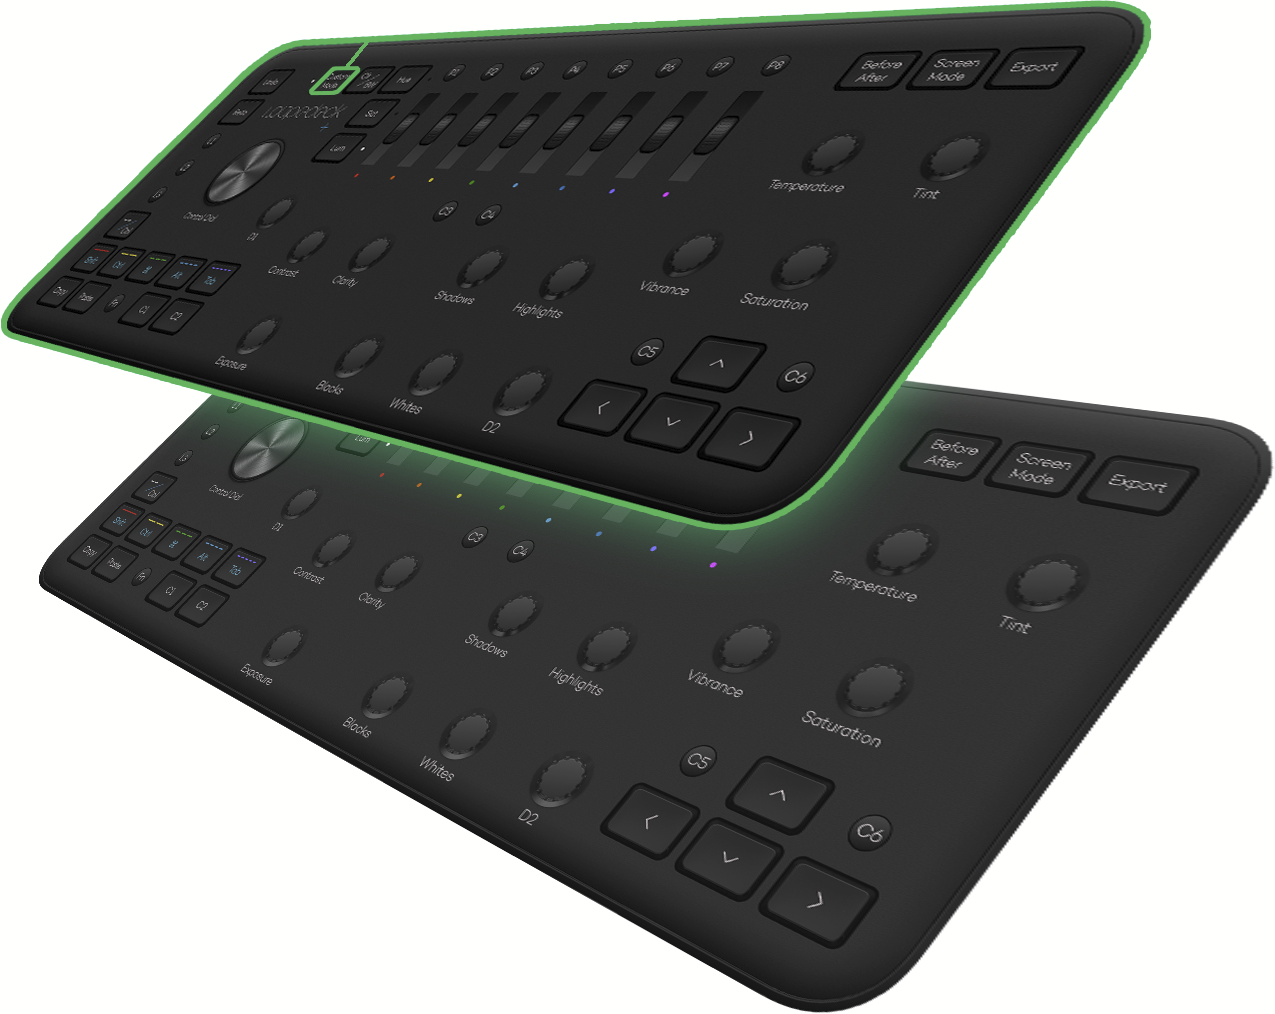 Loupedeck+ has two "layers" (Workspaces) of functions: the 1st layer is Main workspace, that is accessible by default, and the 2nd layer (green) is Custom Mode workspace, a secondary layer of functions, that can be accessed in the device by pressing the Custom Mode - button on the upper left corner.
Both workspaces are completely open (except for FN button) and can be mapped with actions and adjustments individually - this way you kind of have "two Loupedeck+ devices" in use - just by press of a button!
Editing workspaces in the UI
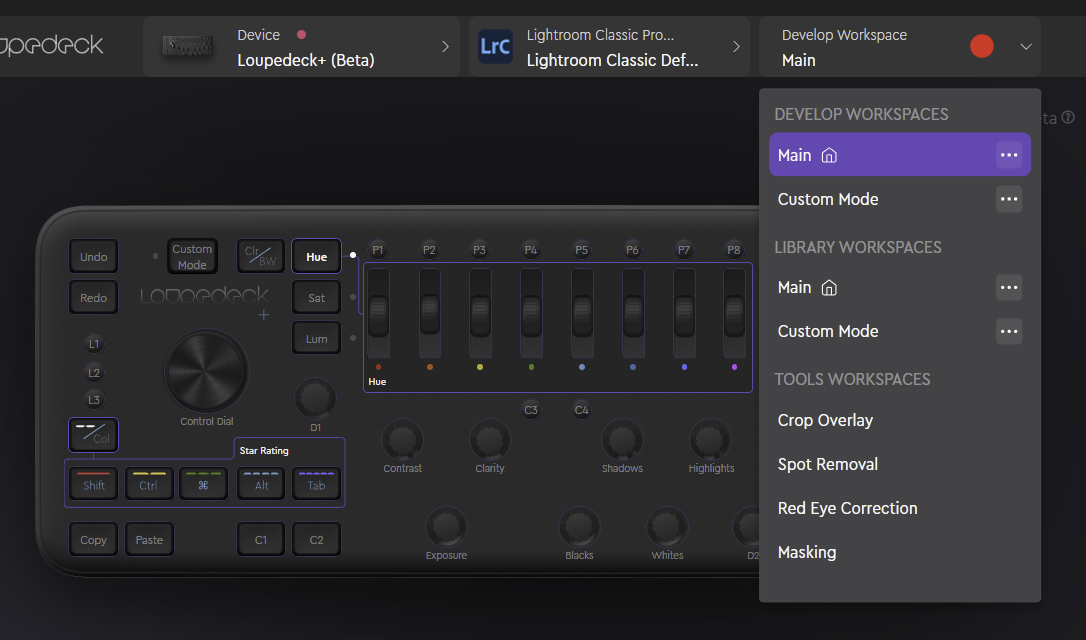 These two workspaces of actions are now both accessible and customisable in the software via Workspaces menu (red dot, image →). Simply choose the workspace you wish to work on and start assigning actions on to the device.
The workspaces in the application profiles have been named after these two layers.
In some applications (Lightroom, Photoshop), there are two modes: Develop Mode and Library Mode. Each of these modes contain Main and Custom Mode Workspaces.
The console is lined with green color while editing the Custom Mode Workspace in the Loupedeck software.
"Custom Mode" button in Loupedeck+ has a "legacy name".
When Loupedeck+ was introduced, the Loupedeck system did not separate software-modes and "device-based modes". For that reason the button was named "Custom Mode" - instead of "Custom Workspace". Workspaces were introduced later in software version 3.
What is an Fn - layer?
Besides these two workspaces (Main & Custom Mode), each of them contains an Fn-layer of functions, that can be quickly accessed by pressing the Fn - button on the device and the desired action button.
Assigning actions to Fn-layer
 Assigning actions to the secondary Fn-layer of the workspace is easy.
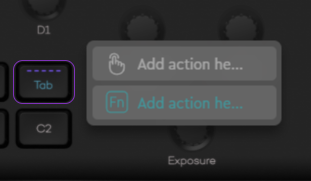
Each assignable button has two slots - one for the first layer of actions and a secondary one (separated with the turquise color) for Fn-actions.
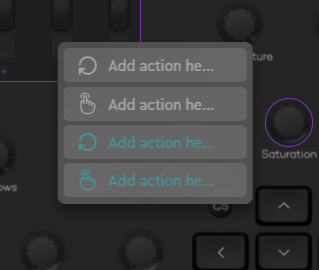
If the button has both dial and press actions available, you can assign up four different actions, two for each layer.