What are Workspaces and how to use them?
A workspace can be described as a “toolbox”: a collection of related functions, laid out so that you can do certain actions and switch between the "toolboxes" efficiently
Workspaces include the following customisable Workspace Elements:
- Touch Buttons (on touch screen) can be used for press actions, page links or workspace links.
- Dials are used for adjustments. They also have a press function.
- Wheel (Loupedeck CT only) with rotation capability (wheel ring), plus touch and swipe capability (wheel screen).
Touch Buttons, Dials and Wheel change their function according to the selected workspace.
One of the workspaces can be assigned as Home Workspace which is the start-up workspace of your application profile.
These General Elements are Workspace independant:
- Round Buttons
- Square buttons (Loupedeck CT only)
These buttons always perform the same action regardless what workspace is selected. Workspaces are typically assigned to round buttons (1-7) and marked with the color green.
Creating and Assigning a Workspace
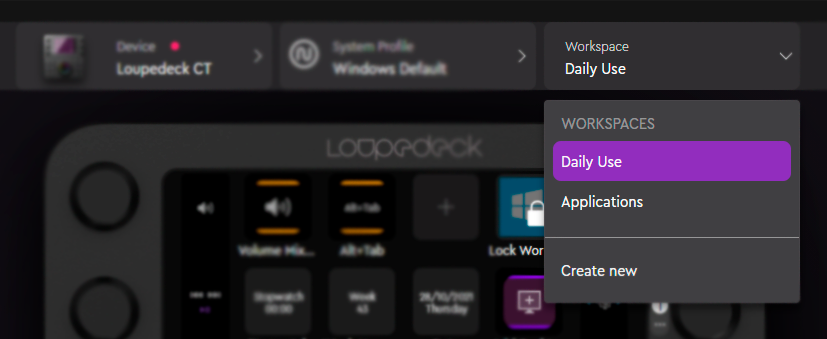
Workspaces are located in the workspace drop down in the top bar above your device


To create a new workspace
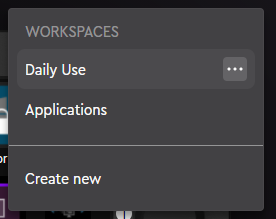
- Click on the "Create new" prompt.
- Workspace can later be edited by clicking on the
 when highlighting the workspace in the menu
- Workspace can later be edited by clicking on the
- When in the workspace creation menu you can give it a name and assign it as a home workspace

Assign As Home Workspace
- All profiles have (only) one home workspace which is activated with the home button. If you want to assign your workspace as home, click the tick-box to verify.
Press "Ok" after everything is ready to exit the editor and to save your workspace for later use. Pressing "Cancel" will cancel all changes and exit the editor.
Assigning Workspace(s)
Workspaces are adviced to be assigned to control elements which content does not change when using a profile (such as round buttons) but can also be assigned to touch buttons.
To assign a workspace, drag the workspace title from the navigation actions tab over the desired button.
