Adobe Audition is a professional audio editing software, and with the help of Loupedeck CT or Live, you can streamline and organize your Audition workflow to perfection.
Before you start...
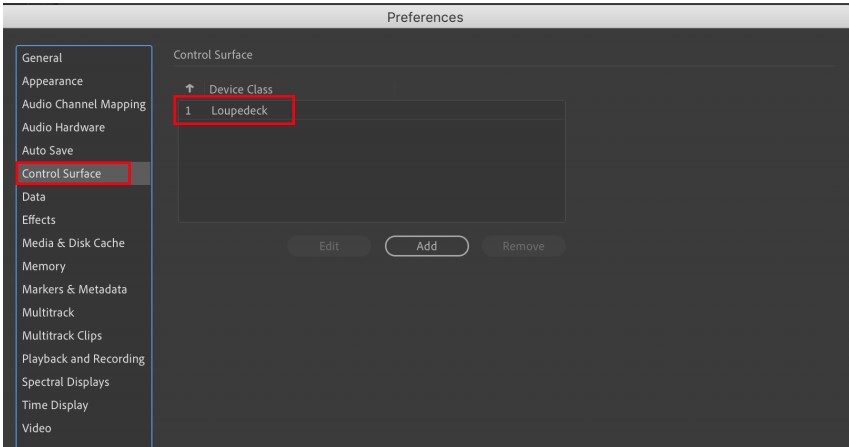
Before CT/Live can work with Adobe Audition, you need to activate it as a control surface in the Audition preferences. Prior to this, make sure you have run the Loupedeck software installer.
Let's get started!
Hopefully by now you already have a grasp of the Loupedeck software principles like workspaces and touch buttons functions. If not, please click here for tutorial.
Adobe Audition Default Profile
The default Audition profile includes 6 different workspaces, each of which takes you to a different set of tools. It's good to memorize and/or customize these workspaces to your own liking and workflow.
You can have several profiles. Use the Loupedeck application to make the profile – or several, if you wish – perfect for you, and save them. Many of the functions and actions you will see on the default profile (e.g., split, copy, paste, etc.) will be self-explanatory to you as an Audition user, but note that some actions are seen as words only, while some use icons.
If you feel that a certain essential function is missing, it is likely that you will find it on some of the pages. Also please use the Loupedeck Configuration software search function to see if the function exists.
Here's a link to a comprehensive guide of the Adobe Audition Workspaces located in the Default Profile.
There is also a separate guide for Workspace 1 functions for Loupedeck CT and for Loupedeck Live.