Setting up Loupedeck LIVE, LIVE S and CT with Streamlabs Desktop Plugin
Tutorial for setting up Streamlabs Desktop with Loupedeck 5.8 software
Before you begin setting up the Loupedeck software and device with Streamlabs Desktop, it is crucial to make sure that you have installed the most up-to-date versions of both the Streamlabs Desktop and the Loupedeck software.
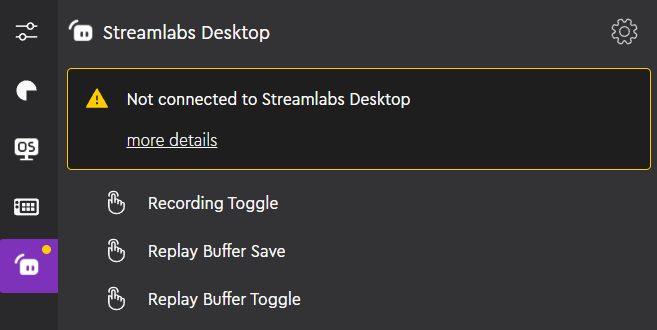
 If the Loupedeck UI shows a yellow dot on top of the Streamlabs icon, the plugin is not connected.
To resolve this issue, simply open the Streamlabs Desktop application and the notification will disappear.
If you are using a previous Streamlabs plugin version (Loupedeck software version 5.7 or earlier), you might see a red dot on top of the Streamlabs icon. As with the newer version, simply open the Streamlabs Desktop application to resolve this issue.
Setting up Streamlabs Desktop plugin actions
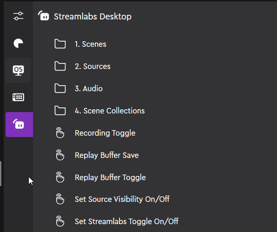
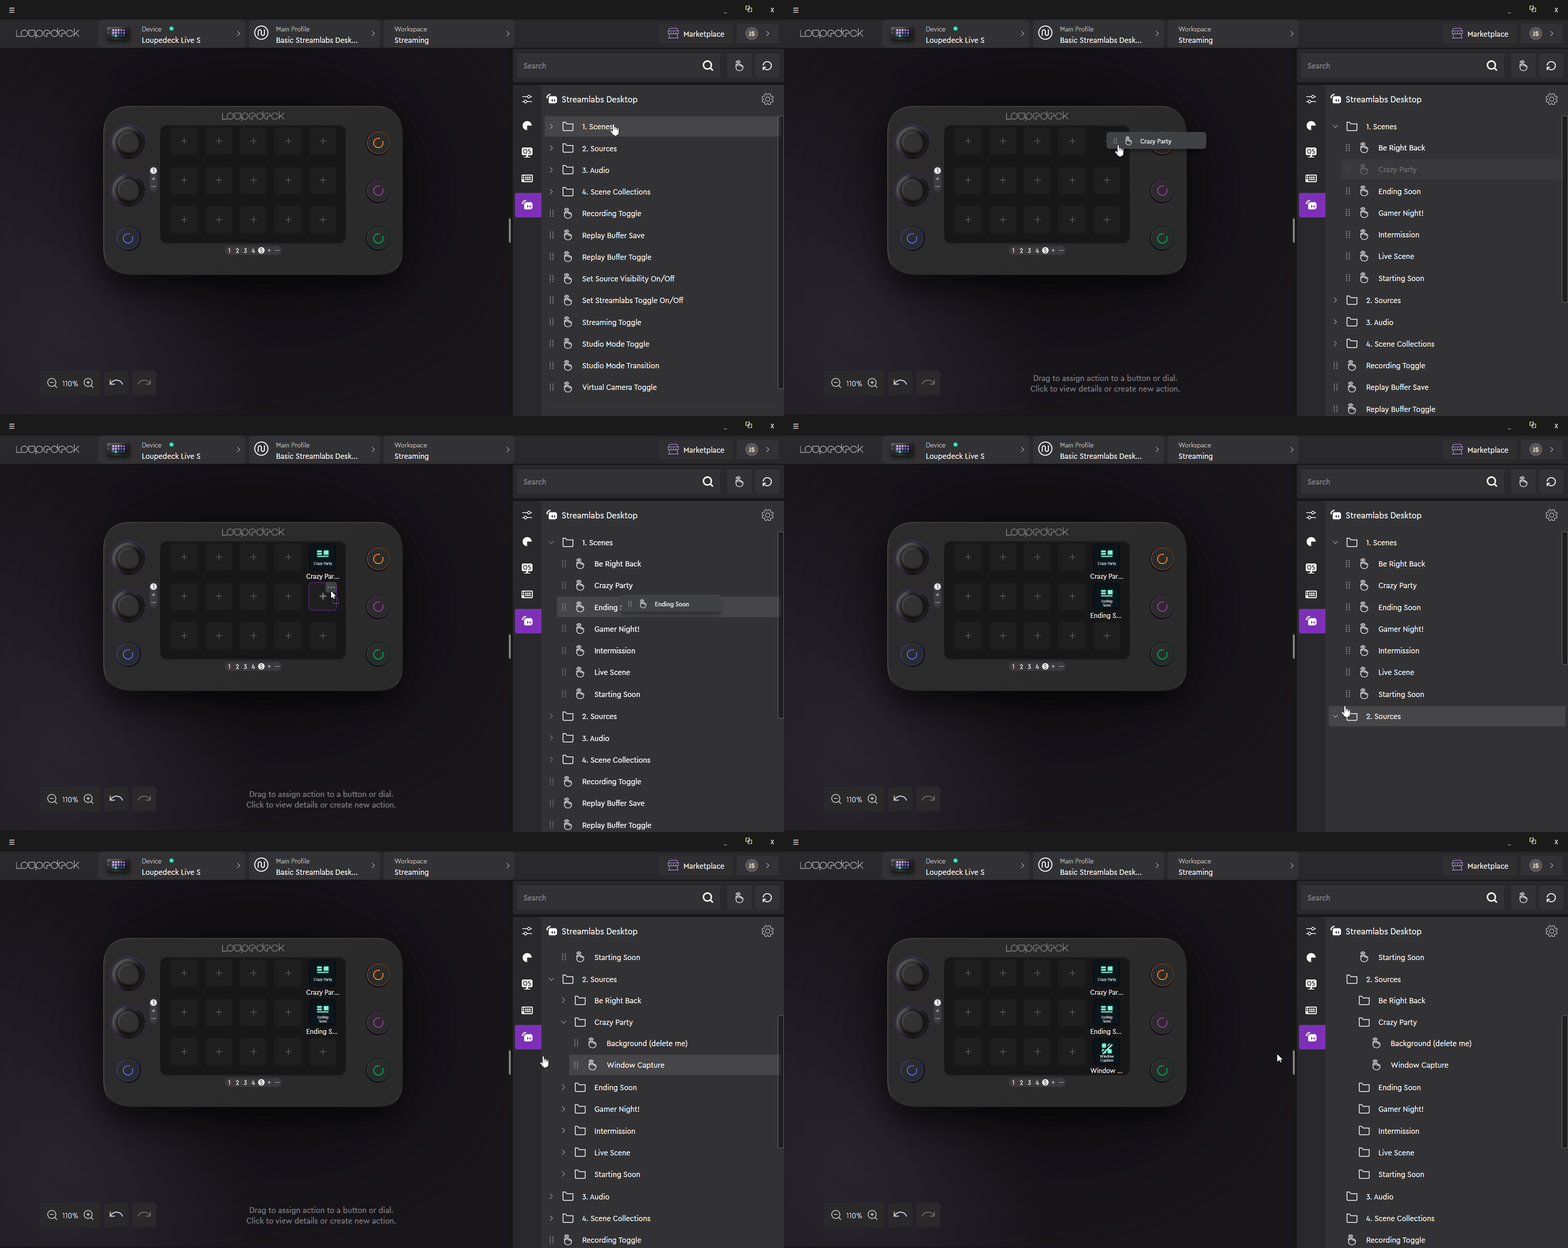
In this new Streamlabs Desktop plugin version, introduced along with the 5.8. release, you can find your scenes and sources in dynamic folders in the action panel. The dynamic folders are only visible and their actions can be assigned when the Streamlabs Desktop application is running in the background.

These dynamic folders will automatically sync with your scenes and sources from the Streamlabs Desktop application. If you happen to create a new scene or source while the Loupedeck software is running, please be aware that it may take a short while for the update to reflect in the dynamic folder.
If you are using a previous Loupedeck software version (5.7 and before), please read this article to learn more about the scene and source-management.
Here’s how to use these actions.
Simply drag the wished action or action type on to a dial or button from the action panel. Keep in mind that certain actions may require additional configuring.
Additionally, you can customize the look of your touch button actions by utilizing the icon editor. Within the icon editor, you have the option to change the icon itself, choose different colors, and even include text on the button. Remember to save the action after configuring.
Once you have assigned the actions, you are now fully ready to begin your streaming session!
