How to work with masks in Lightroom Classic
Add one or several masks, add/subtrack from a mask, edit and delete a mask with your Loupedeck device.
If your masking workspace is empty, or it has just few actions (e.g., clock and a wheel), please follow instructions on this article first!
Adding a New Mask
Normally, creating a mask via Lightroom Classic UI is a two step process: First select masking (sub)mode, and then select the masking tool. With Loupedeck, adding a mask has been streamlined.
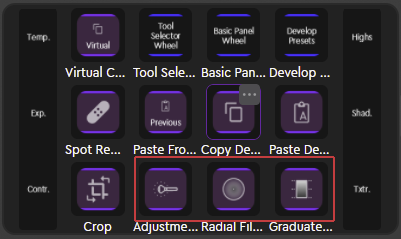 On the default Lightroom Classic profile, just select the masking tool from the Basic Adjustments workspace: the mask with the tool is automatically created and activated Lightroom Classic.
After the mask (and tool) is active, you only need to draw or add your mask area to the image - and adjust the image parameters based on your needs.
TIP! To control brush tip: Mouse Wheel Vertical controls brush size and Mouse Wheel Vertical + Shift controls the feathering.
If only brush size needs to be controlled, fastest way to do it is directly from your mouse.
Note! Loupedeck Original and Loupedeck+ has direct access to masking tools (previously local tools) in Lightroom Classic default profile (Brush button and L1-L3 buttons on Loupedeck+).
Adding More Than One Mask
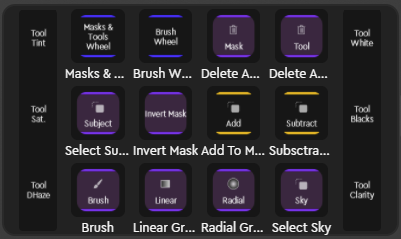 When masking (submode) is active, the default profile for Lightroom Classic (on Loupedeck CT) looks like the image on the right (Loupedeck Live is almost identical).
To add a new mask, simply select the type of mask you want to add (Brush, Linear Gradient, Radial Gradient, Sky or Subject). Lightroom Classic will add the mask you selected. Adjust the image from the dials (dials have to pages of adjustments, swipe up/down to change the set of adjustments).
Selecting a Mask or a Mask Tool
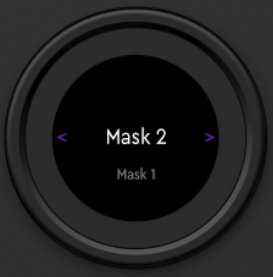 When multiple masks have been created, the masking wheel on Loupedeck CT shows all the masks as a list.
Navigating the list is done by swiping up/down (or rotating the wheel). The white text in the middle of the wheel indicates the selected mask (selection is done automatically, in real-time, while navigating the list).
Swiping right enters the selected mask revealing the list of mask tools used for the selected mask. Tool list can be navigated identically as the mask list.
Swiping left navigates out from the tool list back to the masks list.
TIP! Renaming masks and tools in Lightroom helps to remember their actual function! Functional name e.g., Brick Wall Color Tone is far more describing than Mask 7.
Adding or Subtracting from existing mask
 Adding to a mask or subtracting from a mask is activated by pressing either of the control center actions while the masking is active (image on the left). This will open a set of masking tools to the touch screen from which to select.
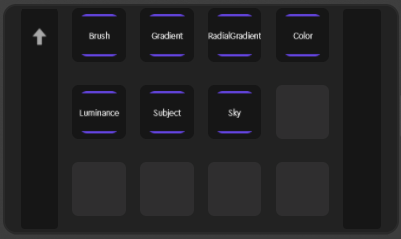 Add to mask or Subtract from mask control centers contain a set of mask tools. Pressing one of the buttons will add selected tool to your mask.
Multiple mask tools can be selected while the control center is opened (and positioned within the image to add/subtract mask area).
To exit the control center, tap on the up arrow - or press the the respective dial (at top left), to enter back to masking.
Editing an existing mask
To edit your masks you need to access masking and select the mask you want to edit. When the mask has been selected, all the respective image values (e.g., exposure, contrast..) can be adjusted with the dials (or with mouse from Lightroom Classic UI).
Selecting a Mask
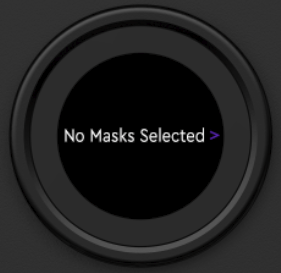 When entering mask list, Loupedeck CT's masking wheel indicates "No Mask Selected" (image on right).
You can select the mask in Lightroom Classic with your mouse (Loupedeck CT will follow your actions), or directly from Loupedeck device:
- Swipe right-to-left to see mask list (and activate first mask)
- Swipe up/down, or rotate the wheel to select the mask you wish to edit
Access masking (submode)
Activate any of the mask tools on. This will "create" (but not assign) a new mask.
If you do not add any masking area to the image, the "created" mask will be automatically discarded when you focus on other masking activities (e.g., selecting an existing mask).